No-Knead Artisan Bread
This is genuinely the easiest yeast bread you’ll ever make. No kneading, no stand mixer, just 3 minutes of stirring and you get bakery-quality artisan bread with a thick, crispy crust and those big beautiful air pockets like sourdough. The dough is incredibly forgiving and flexible - rise it for 2-3 hours or refrigerate it for up to 3 days for even better flavor.
Perfect for beginners but impressive enough that experienced bakers will appreciate the artisan qualities. You won’t believe something this simple can produce such professional results.
Ingredients
- 3 cups (450g) bread flour or all-purpose flour
- 2 tsp instant yeast or rapid rise yeast
- 2 tsp cooking salt or kosher salt (NOT table salt)
- 1.5 cups (375ml) very warm tap water (not boiling, about bath temperature)
For shaping:
- 1.5 tbsp flour for dusting
Instructions
Mix the dough. In a large bowl, mix together the flour, yeast, and salt. Add the warm water and stir with the handle of a wooden spoon until all the flour is incorporated. The dough will be very wet and sloppy - not kneadable at all, more like thick pancake batter. This is exactly what you want.
Let it rise. Cover the bowl with cling wrap or a plate and leave on your counter for 2-3 hours in a warm spot (25-30°C / 77-86°F). The dough should double in volume, become bubbly on top, and wobbly like jelly. If it’s not rising after an hour, move it somewhere warmer.
Optional flavor boost. At this point you can bake immediately, OR refrigerate the dough for 8 hours to 3 days for better flavor development. The longer it sits in the fridge, the tastier the bread. I usually make the dough in the morning and bake at night, or make it at night and bake fresh in the morning.
Preheat the oven and pot. About 30 minutes before you’re ready to bake (or while refrigerated dough is coming to room temperature on the counter for 45-60 minutes), place your dutch oven (cast iron pot with lid) in the oven and preheat to 230°C (450°F). The hot pot creates a steamy environment that helps the bread rise beautifully.
Shape the dough very roughly. Sprinkle your work surface with 1 tablespoon of flour. Scrape the sticky dough out of the bowl onto the floured surface. Sprinkle the top with the remaining 1/2 tablespoon flour. Using a dough scraper, spatula, or large knife (you won’t touch the dough with your hands), fold the sides inward about 6 times to roughly form a round shape. Don’t be too precise - you’re mainly deflating the bubbles.
Flip onto parchment paper. Place a large piece of parchment paper next to your dough. Use the scraper to flip the dough upside down onto the paper (seam side down, smooth side up). Push it into the center and reshape into a roundish disc. Don’t stress about making it perfect - rustic and lopsided means more crispy ridges.
Bake covered. Remove the very hot pot from the oven. Use the parchment paper to lift the dough and place it into the pot, then put the lid on. Bake for 30 minutes with the lid on (this creates steam so the bread can rise before the crust sets).
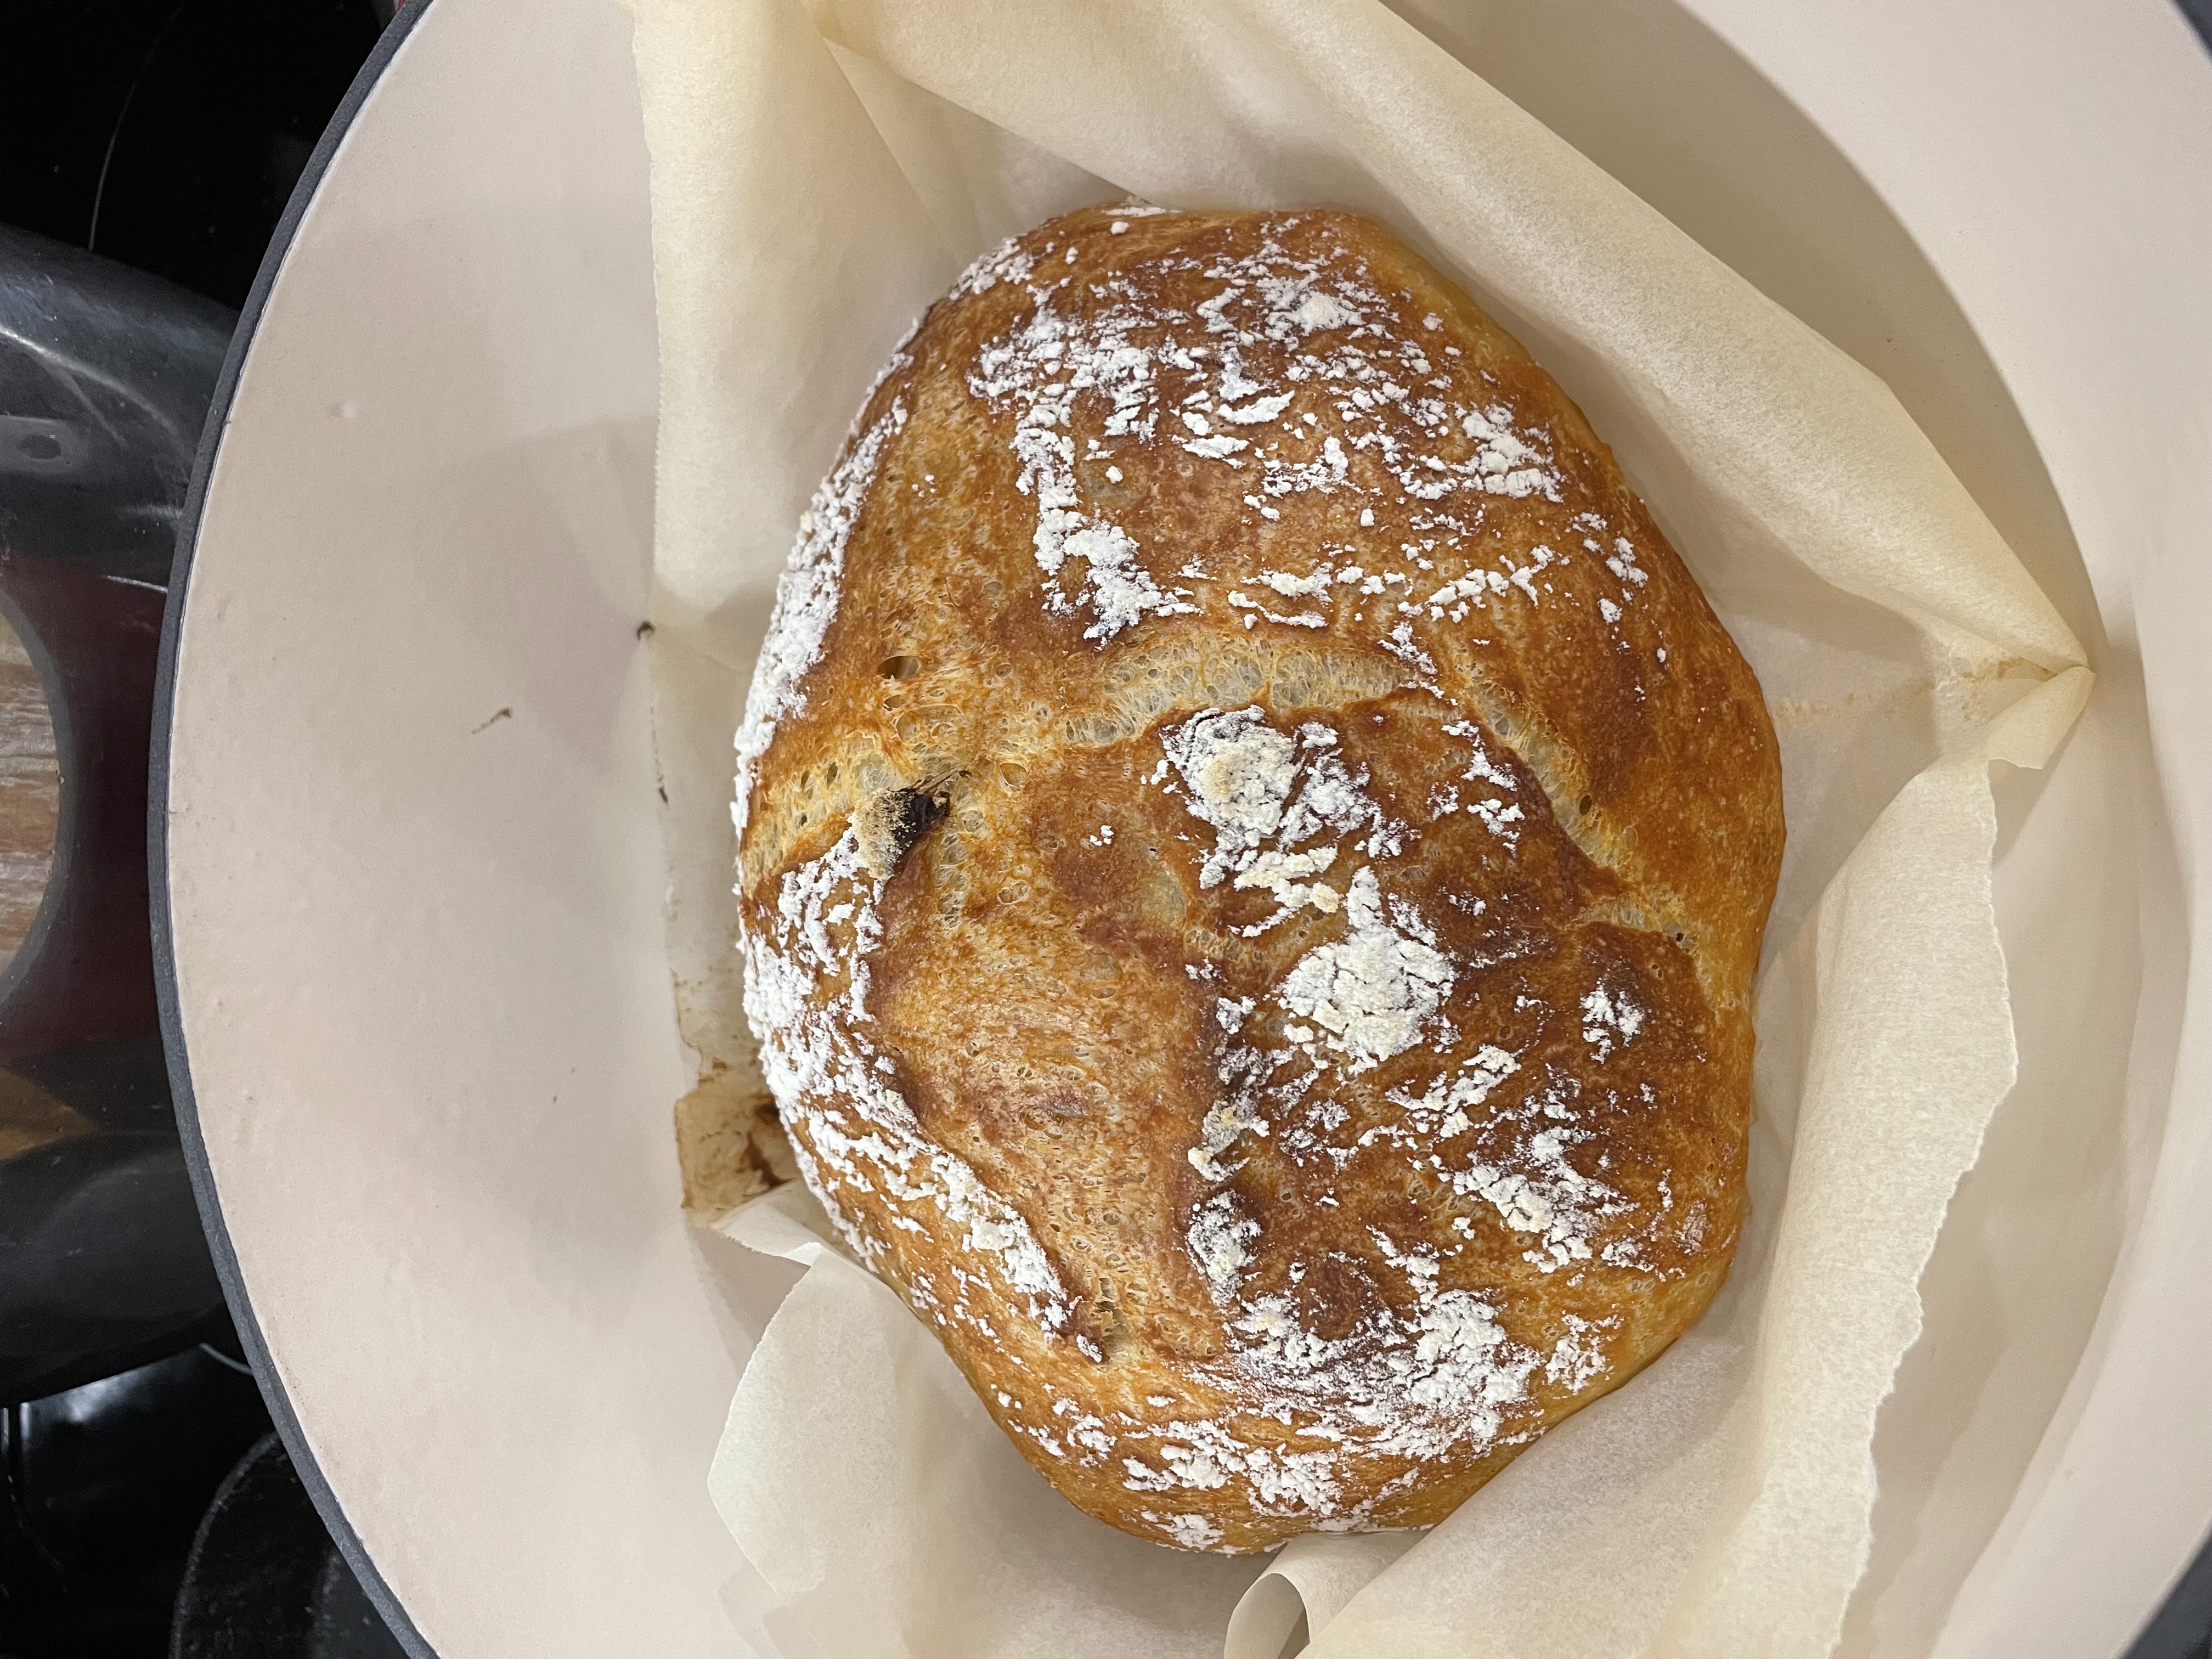
Bake uncovered. Remove the lid and bake for another 12 minutes until the crust is deep golden brown and crispy. The surface will crack - this is what you want for extra crispy ridges and that authentic artisan look.
Cool before slicing. Transfer the bread to a cooling rack and let it cool for at least 10 minutes before slicing. This is important to let the center finish cooking. If you cut too early, it will seem a bit doughy inside.
Tips and Variations
No dutch oven? Place a metal pan with hot water on the shelf below your bread to create steam. Bake on a baking tray for the full 40 minutes until deep golden.
Normal yeast instead of instant? Dissolve the yeast in the warm water first, then immediately add the flour and salt and proceed as written.
Bread flour vs all-purpose? Bread flour has more protein and creates bigger air holes and a chewier texture, but all-purpose flour works perfectly too.
Storage: Keeps fresh for 2 days in an airtight container, then better toasted. Freezes well for up to 3 months.
Make ahead: The beauty of this bread is the flexibility. Make the dough, let it rise, then refrigerate for up to 3 days. When you’re ready to bake, let it sit at room temperature for 45-60 minutes, then shape and bake. The flavor actually improves with time in the fridge.